
When it comes to creating a garage workshop, the magic lies not only in what tools you own but in how you arrange your space.
Think of your garage as a blank canvas, ready to transform from a cluttered storage room into a functional, efficient, and inspiring workshop.
Whether you’re a seasoned craftsman, a weekend warrior, or someone who just loves tinkering, a well-planned layout can change the entire game.
Why Your Garage Workshop Layout Matters More Than You Think
Before diving into layouts, consider this: your garage is more than just a place to stash your car or random boxes. It’s a sanctuary for projects, a playground for creativity, and sometimes the birthplace of your next masterpiece.
A smart layout isn’t just about squeezing in as many tools as possible. It’s about flow, accessibility, safety, and comfort. Imagine reaching for a screwdriver without digging through piles, or having enough bench space to spread out a project without feeling cramped. That’s the power of a great layout.
1. The Classic U-Shape Workshop Layout
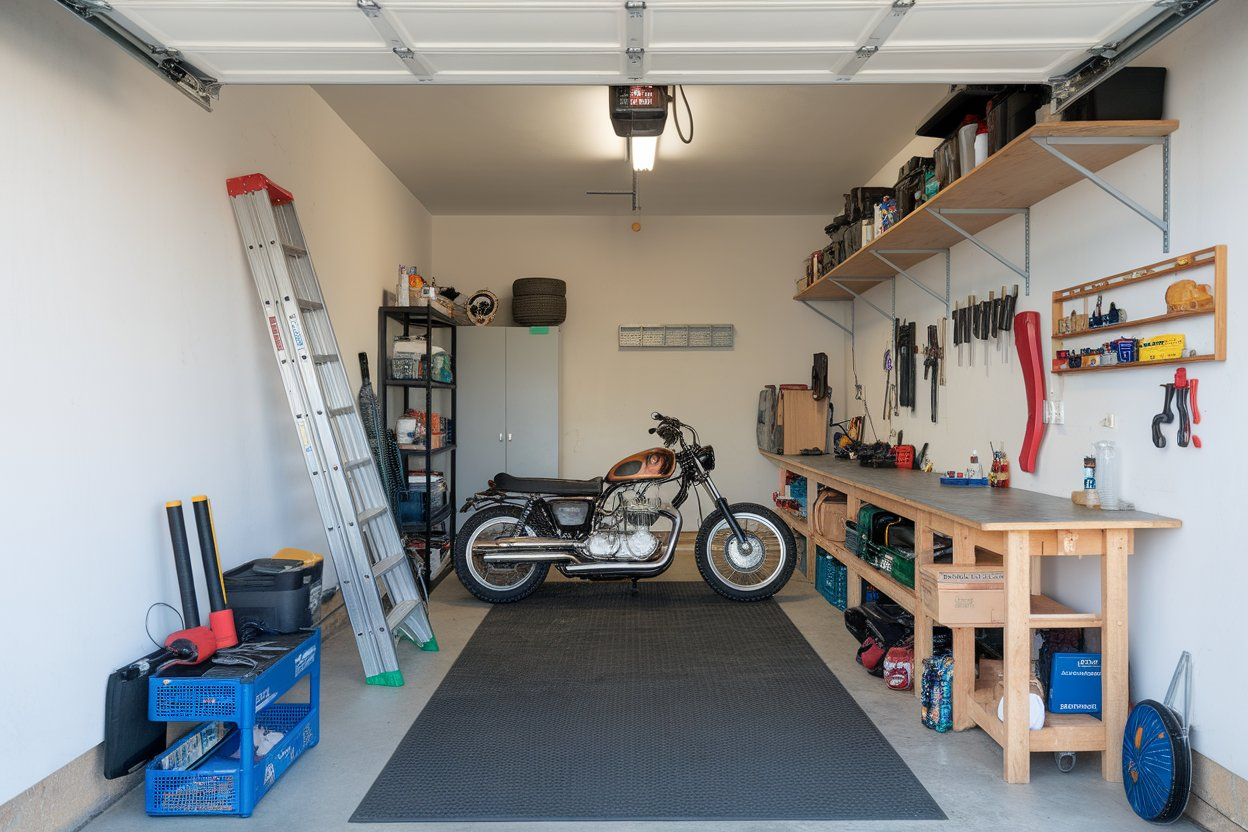
The U-shape layout is like the old reliable friend of garage workshops. It wraps your workspace around you on three sides, giving ample bench space and storage while keeping everything within arm’s reach. This layout is perfect for larger garages, allowing you to have designated zones—a cutting station, an assembly bench, and storage areas—all in a logical sequence.
Pro tip: Install pegboards above your benches to hang frequently used tools for easy grab-and-go access.
2. L-Shape Layout for Compact Spaces
If your garage isn’t sprawling, the L-shape layout brings efficiency without crowding. It maximizes corner space and leaves the center open for mobility or additional workstations. This setup encourages multitasking because you can have your power tools on one side and your hand tools on the other.
I once converted a tight garage into an L-shaped haven, and the open floor made the whole space feel twice as big.
3. Straight Line Workshop Layout – The Minimalist Approach
Sometimes simplicity is key. A straight line layout places all workbenches and storage along one wall. This is great for narrow garages or for people who don’t need a sprawling setup. The advantage? It’s easy to install shelving above and below the bench, keeping everything streamlined.
To optimize, consider mobile carts that you can wheel out as needed and tuck away afterward.
4. Island Bench Layout for Ultimate Flexibility
If you’ve got space to spare, the island bench layout turns your garage into a workshop masterpiece. Picture a central workbench that you can approach from all sides, surrounded by storage units or tool cabinets along the walls. This allows for multiple people to work simultaneously or for large projects that require a lot of surface area.
A personal story: When I added an island bench in my garage, I found myself inviting friends over for joint projects—suddenly, it was less “garage” and more “creative lab.”
5. Wall-Mounted Fold-Down Workbench for Multi-Use Garages
For those who use their garage for more than just working, a fold-down wall-mounted bench is a lifesaver. When not in use, the bench folds flat against the wall, freeing up floor space for your car or other activities. It’s a clever way to have a workshop on demand.
Pair this with wall-mounted tool organizers, and you’ve got a flexible space that adapts to your needs.
6. Zone-Based Workshop Layout
Divide and conquer. Creating distinct zones within your workshop helps you focus and reduces clutter. Zones could include woodworking, metalworking, painting, and assembly. Assign each zone a clear boundary with dedicated storage and workbenches tailored for specific tasks.
In practice, this approach kept my tools from wandering and made clean-up a breeze—each tool had a “home” and a purpose.
7. Garage Workshop with Mezzanine Storage
If your garage has high ceilings, don’t waste that vertical space. Installing a mezzanine or loft storage area gives you room to store bulky items or rarely used tools while freeing up ground-level space for workstations. It’s like having a secret attic just for your gear.
I recall a friend who turned his mezzanine into a cozy office nook overlooking his workshop—a win-win for work and hobby balance.
8. Mobile Workbench and Tool Storage Layout
Mobility is underrated. Building your workbench and storage cabinets on wheels allows you to reconfigure your workshop layout on the fly. Need extra room for a big project? Just roll the benches aside. This adaptability keeps the space dynamic and suited to your workflow.
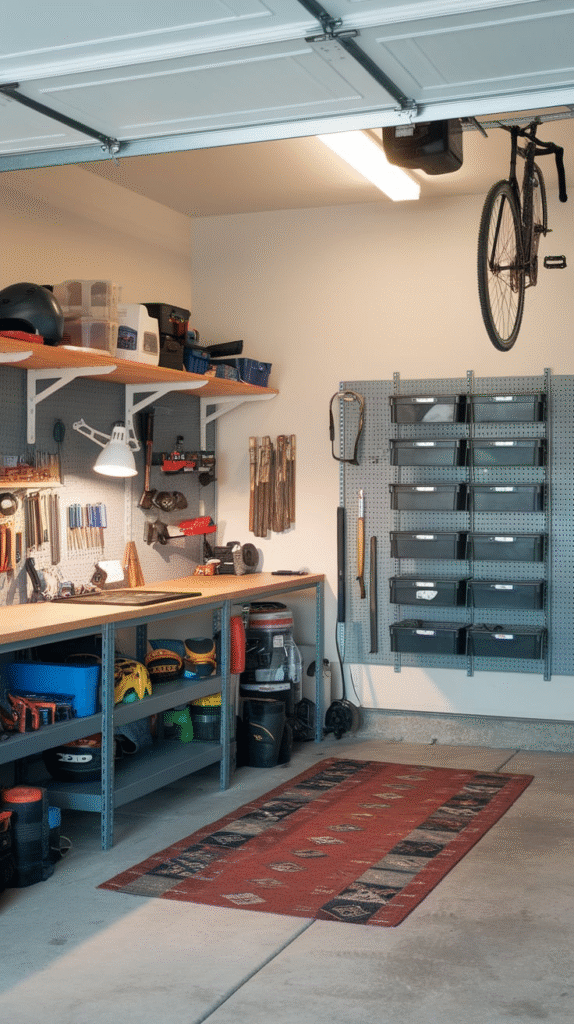
9. Pegboard-Centered Layout for Maximum Tool Visibility
Pegboards are the unsung heroes of garage workshops. Center your layout around a large pegboard wall, so tools are always visible and accessible. Add labeled hooks and baskets to keep everything neat and within reach. This is especially helpful for hobbyists who work with a wide variety of small hand tools.
Imagine never having to rummage through drawers again—that’s the magic of pegboard organization.
10. Multi-Level Storage Layout for Small Workshops
In cramped garages, vertical thinking is essential. Installing multi-level shelves and storage racks uses every inch of wall space. Combine this with stackable bins and hanging racks to keep your tools sorted by category, project, or frequency of use.
A tip from my own cramped setup: clear plastic bins help you identify contents quickly without opening each container.
11. Corner Station Workshop Layout
Corners often go to waste, but not in a corner station layout. Fit your workbench and tool storage snugly into a corner, utilizing angled shelving or corner cabinets. This frees up the rest of the garage for larger machinery or vehicle parking.
This layout was a game changer for a friend of mine who wanted a workshop but only had room for his car and a little nook of workspace.
12. Workshop with Overhead Storage Racks
Maximize overhead space with sturdy ceiling-mounted racks. These can hold seasonal items, lumber, or bulky tools not used every day. Clearing the floor of these heavy or awkward items keeps your workspace safe and efficient.
Just be mindful of ceiling height clearance, especially if you store a vehicle underneath.
13. Wall Cabinet and Drawer System Layout
Custom cabinetry tailored for garage workshops gives your space a sleek, professional feel. Wall cabinets keep dust off your tools, while heavy-duty drawers handle screws, nails, and small parts. Integrate a workbench in the cabinetry run for seamless workflow.
This approach worked wonders for my cousin, who turned his chaotic garage into a showroom-worthy workshop.
14. Dedicated Power Tool Zone
If you rely heavily on power tools, dedicate a specific zone with proper electrical outlets, dust collection systems, and a sturdy bench. Position the tools for easy plug-in and use without cords cluttering the floor.
A dust collector will be your best friend here—keeping sawdust under control makes a big difference in comfort and tool longevity.
15. Open Floor Plan with Movable Stations
An open floor plan keeps your garage airy and adaptable. Use movable stations for different tasks, so you can arrange and rearrange based on project size or collaboration needs. This setup works best for garages used by more than one person or with fluctuating project demands.
I once helped a local craftsman redesign his garage this way, and he told me it was like dancing around his work—every move felt natural.
16. Workshop with Integrated Lighting Layout
Good lighting is often overlooked but is crucial for detail work. Plan your workshop layout around natural light sources when possible, and supplement with adjustable task lighting above benches and machines.
Installing LED strips under cabinets or hanging adjustable lamps can dramatically improve visibility and reduce eye strain.
17. Garage Workshop with Utility Sink
Adding a utility sink to your garage workshop layout can be a game changer, especially for messy projects like painting or staining wood. It keeps the workspace cleaner and makes washing tools easier.
If plumbing isn’t an option, consider a portable water station with a drainage system as a clever workaround.
18. Foldable Table and Wall Storage Combo
When floor space is a premium, foldable tables paired with wall storage create an efficient workshop layout. Fold the table down when needed, fold it back up to clear the way, and keep tools on wall-mounted racks or cabinets.
This was the secret weapon for a friend living in a townhouse with a narrow garage-turned-workshop.
19. Dedicated Painting and Finishing Area
Separating your painting or finishing station helps contain fumes and dust. Designate a corner or part of the garage with proper ventilation and drop cloths, keeping it separate from sawdust-heavy zones.
I learned this the hard way—painting in the middle of woodworking chaos just invites frustration and mistakes.
20. Garage Workshop with Rolling Tool Chest Layout
A rolling tool chest that fits under your bench or slides around the garage is a practical way to keep your essential tools close. Combine this with wall-mounted storage for less-used items.
This combination offers a balance between fixed storage and mobility, perfect for those who shift tasks frequently.
21. Vertical Tool Wall with Magnetic Strips
For metal tools, magnetic strips mounted on walls provide quick access and neat storage. Combine this with vertical racks for long-handled tools, keeping the floor uncluttered and tools visible.
It’s like giving your tools their own gallery wall, ready to be “exhibited” at a moment’s notice.
22. Workbench with Built-In Power Outlets and USB Ports
Modern workshops benefit from built-in power solutions. A workbench integrated with power outlets and USB ports keeps your electric tools and devices charged without messy extension cords.
During a late-night project, this setup saved me from scrambling for adapters and extension cords—a real productivity boost.
23. Soundproof Garage Workshop Layout
If noise is a concern, design your layout with soundproofing in mind. Use acoustic panels on walls, insulated doors, and arrange noisy machines away from the garage door or neighbors.
Soundproofing transforms your workshop into a private sanctuary, where noise doesn’t have to be the price of creativity.
24. Eco-Friendly and Sustainable Workshop Layout
Finally, consider an eco-conscious layout with energy-efficient lighting, solar-powered outlets, and recycled or sustainably sourced workbenches and storage. Proper ventilation and dust collection also improve indoor air quality.
I admire a friend who built his entire garage workshop with repurposed materials—proof that sustainability and functionality can go hand in hand.
Conclusion
Creating your ideal garage workshop layout is about knowing your workflow, your tools, and your space. Whether you prefer the tight embrace of a U-shape, the flexibility of an island bench, or the minimalist charm of a straight line, remember the goal: to make your garage a place where creativity flows freely and projects get done with ease.
Start small, experiment with different layouts, and tweak until your garage becomes your perfect DIY playground. After all, a well-loved workshop isn’t just about work — it’s about the joy of making, fixing, and building that personal piece of the world.
Leave a Reply