
Creating a fairy garden is like opening a tiny door to a secret world—one filled with enchantment, whimsy, and a sprinkle of childhood nostalgia.
Whether you have a sprawling backyard or just a small balcony, building a fairy garden can be an escape, a hobby, and a beautiful way to add charm to your home.
Ready to dive into some practical, creative, and magical DIY ideas to build your own fairy garden? Let me take you on a journey through 19 inspiring ways to bring fairy tales to life right outside your door.
Why Create a Fairy Garden?
Before we jump into the ideas, let me share why a fairy garden is more than just decoration. It’s about slowing down, reconnecting with nature, and sparking imagination.
When life feels like a whirlwind, tending to a tiny garden populated by miniature homes, little paths, and delicate plants can feel like whispering secrets with the fairies themselves. Plus, it’s a perfect project for all ages—kids love it, and adults find it incredibly rewarding.
Now, let’s unravel these fairy garden DIY ideas—each crafted to help you build your own slice of magic.
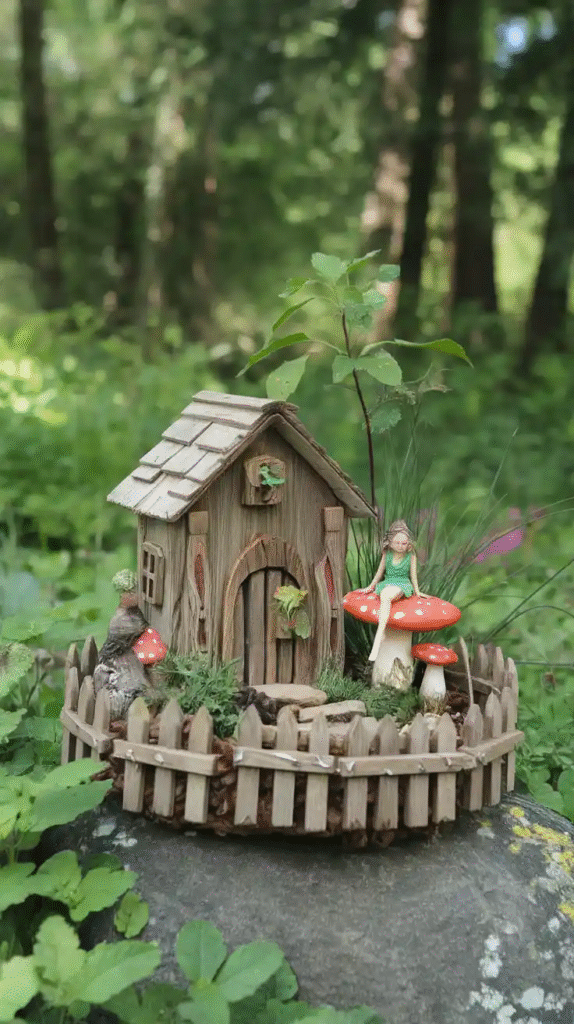
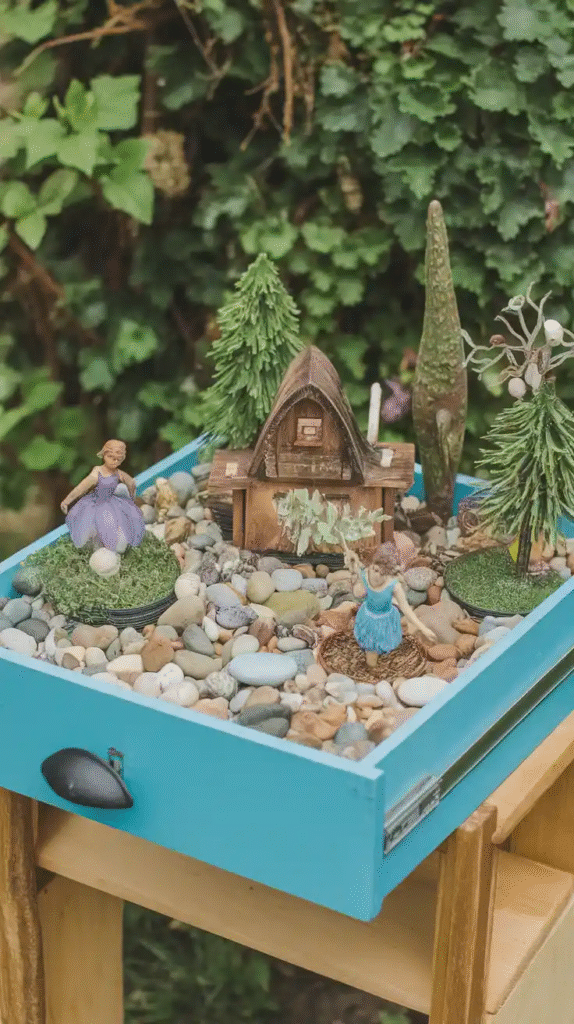
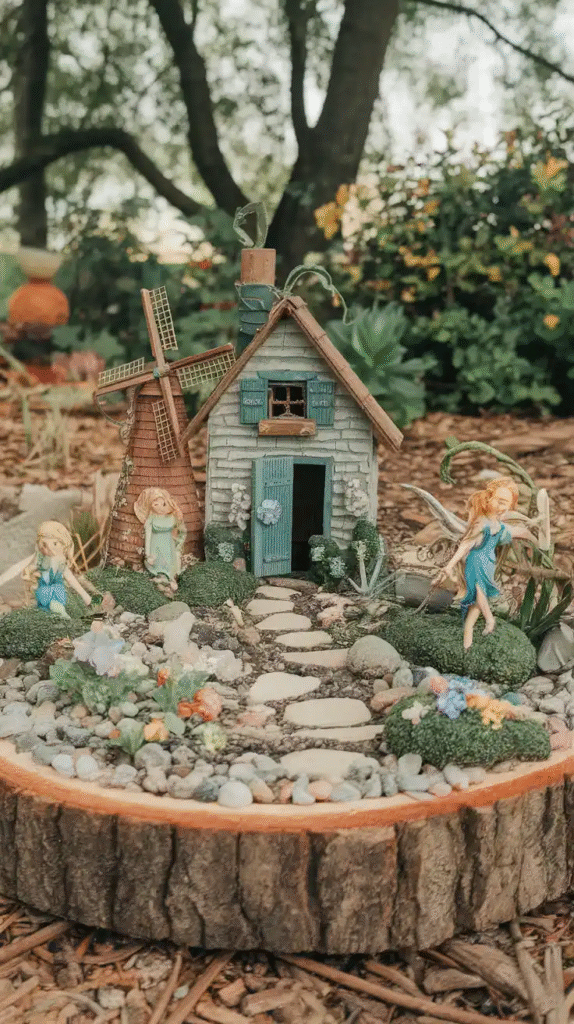
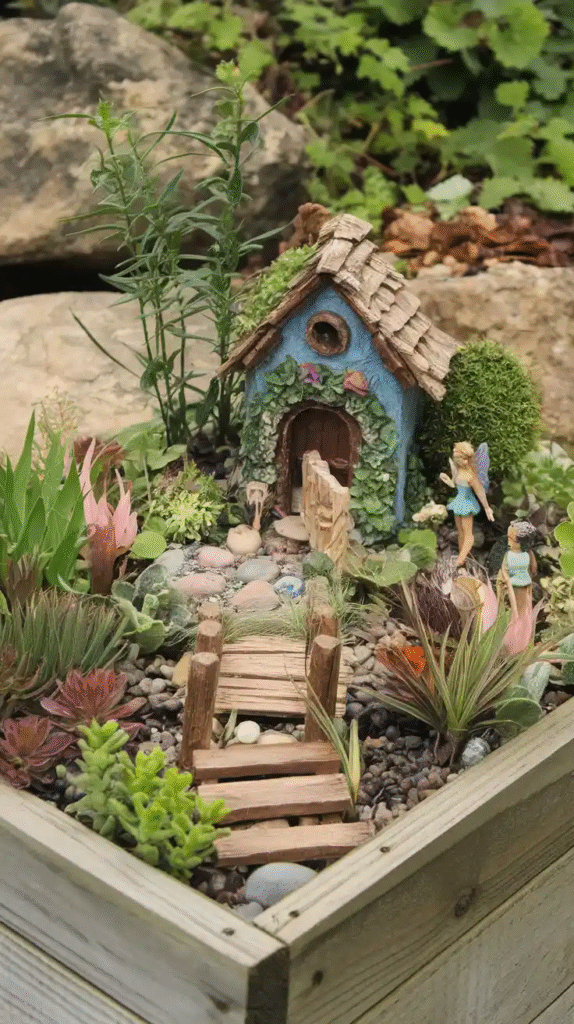
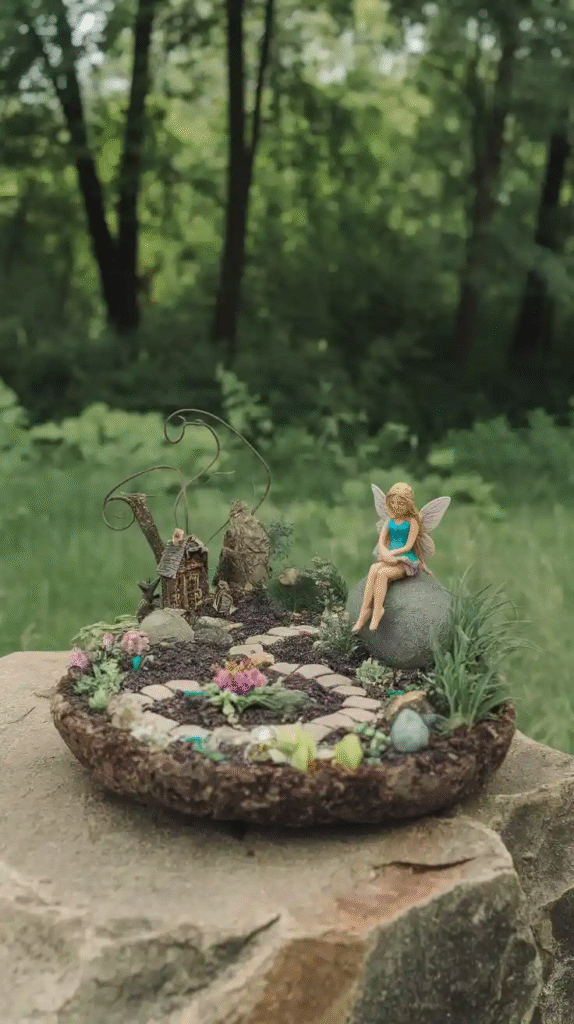
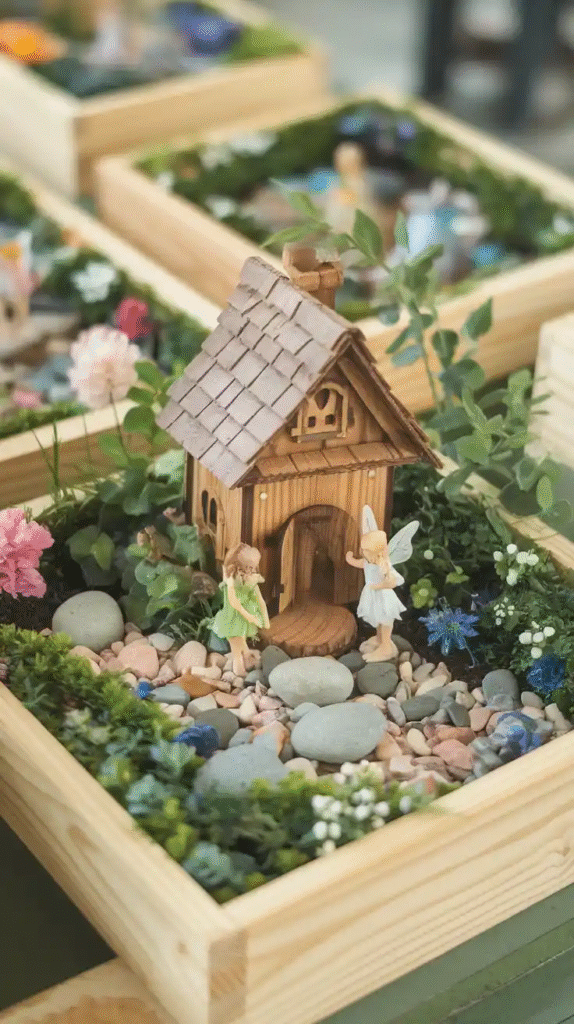
1. The Classic Miniature Fairy House
Start with a miniature fairy house as the centerpiece. Use materials like reclaimed wood, bark, or even old teacups to craft the walls and roof.
Add tiny windows from bits of stained glass or plastic, and moss for the roof for an authentic woodland vibe. My first fairy garden had a house made from an old birdhouse I painted with acrylics—simple, yet it sparked hours of imagination.
Tip: Use weather-resistant glue and sealants to keep your house standing through the seasons.
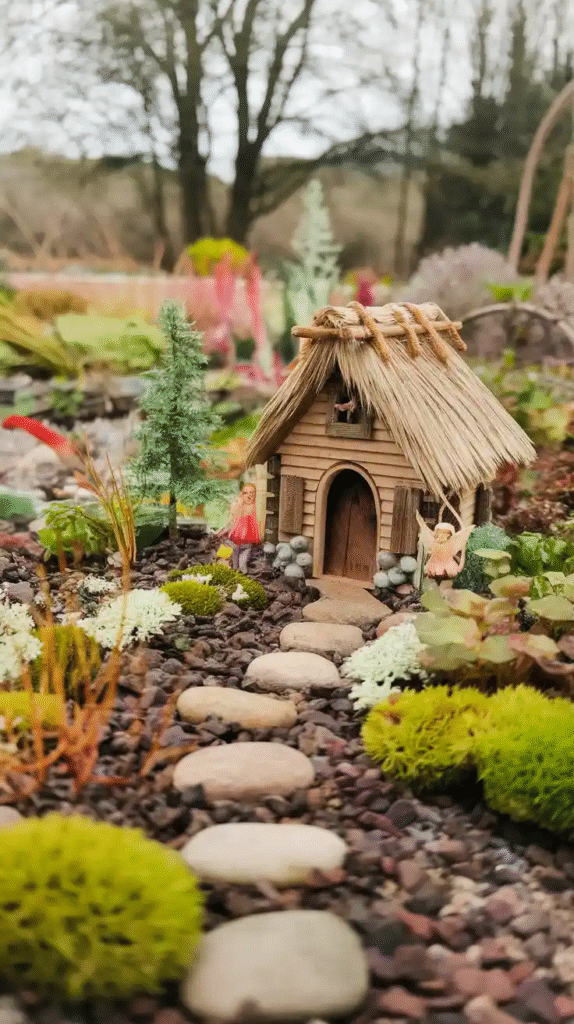
2. Create a Tiny Pathway with Pebbles and Stepping Stones
No fairy garden is complete without a winding path. Collect small pebbles or polished stones to design a charming pathway that leads visitors through your garden. Use flat stones or pieces of slate for stepping stones. Arrange them in a curvy pattern to mimic natural forest trails.
Pro Tip: Add tiny lanterns along the path for a magical glow when dusk falls.
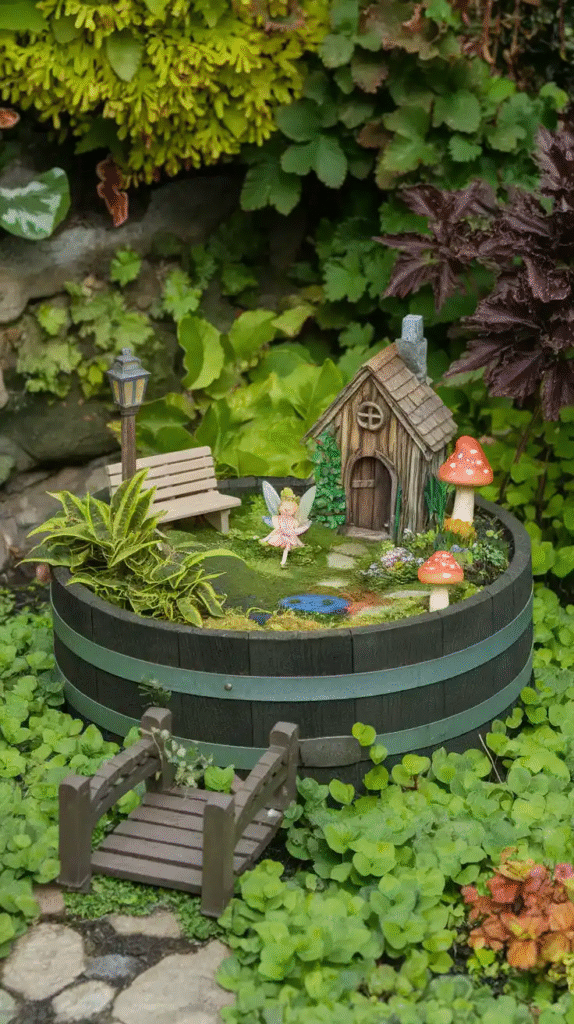
3. Fairy Garden Bench Made From Twigs
Building a rustic bench from twigs adds a cozy spot for your fairy residents. Gather small twigs, tie or glue them together, and make a simple seat and backrest. It’s a miniature picnic spot where the fairies might sit after a long day of fluttering.
4. Use Moss and Lichen to Create a Natural Carpet
Forget traditional grass—moss and lichen offer an authentic, soft green carpet for your fairy garden. They thrive in shaded areas and require minimal upkeep. Moss adds that “enchanted forest” feel and is perfect for filling gaps between stones or around your miniature furniture.
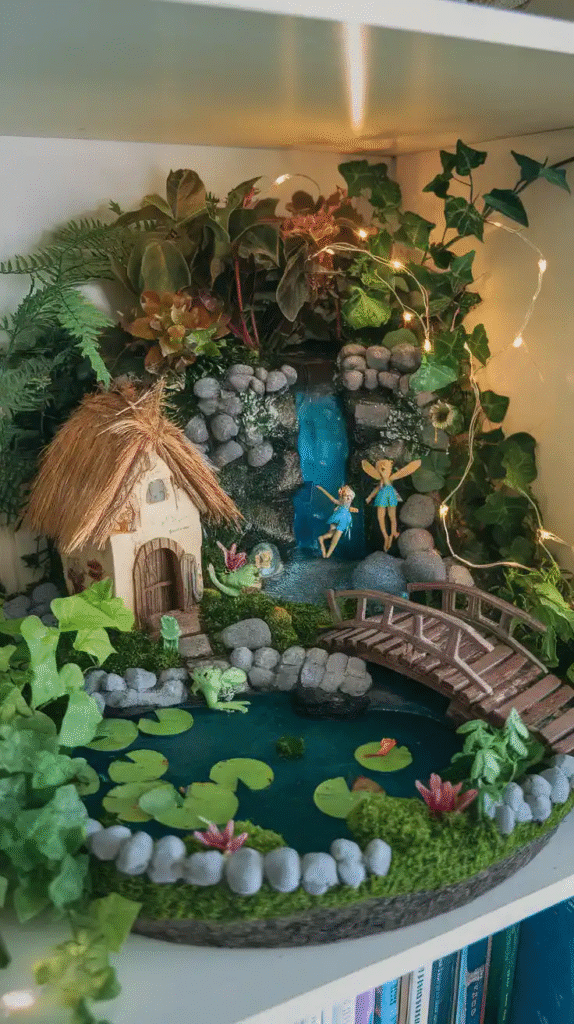
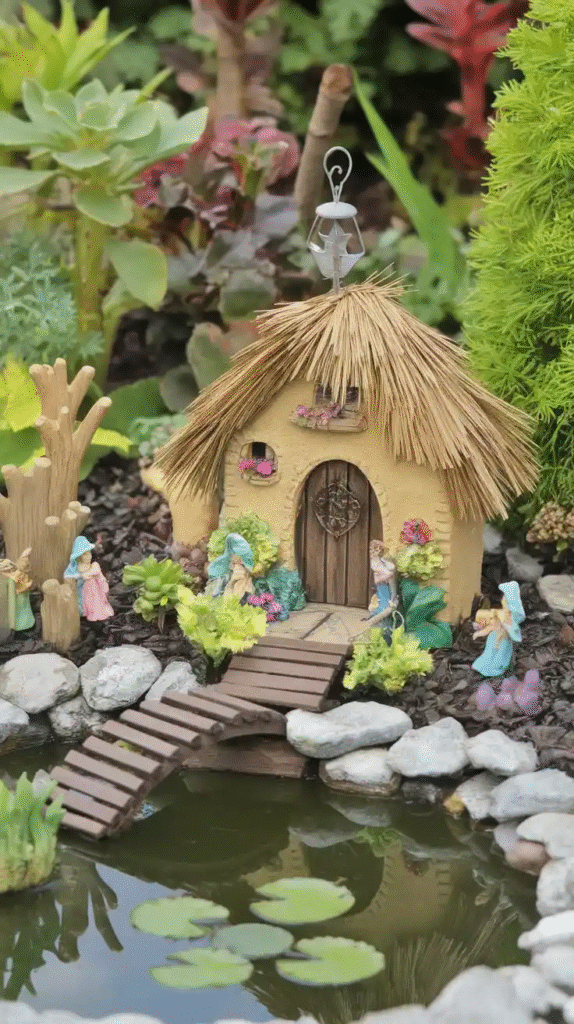
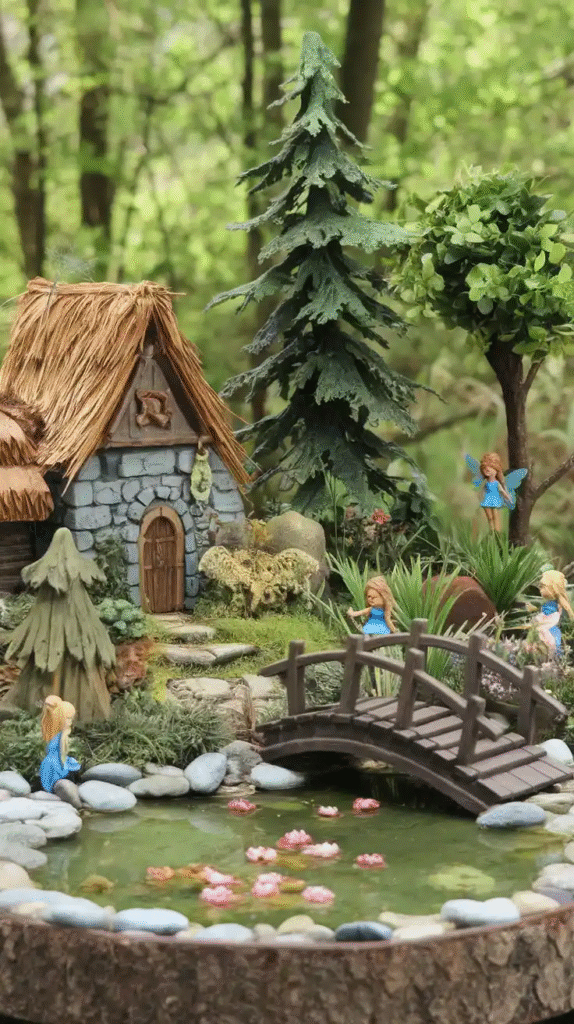
5. Incorporate a Miniature Water Feature
Water brings life and sound to any garden. Build a small water feature using a shallow dish, a tiny fountain pump, or a small birdbath. Even a few pebbles placed around a puddle can simulate a pond. The sound of trickling water creates a serene ambiance that’s impossible to resist.
6. DIY Fairy Doors for Trees or Walls
Adding a fairy door to a tree trunk or garden wall invites the magical inhabitants to “enter” your world. Use craft wood or heavy cardboard, paint it in vibrant colors, and embellish with tiny doorknobs made from beads or buttons. I once found a tiny brass key in my garden that “opened” the fairy door—it was pure serendipity.
7. Miniature Furniture from Recycled Materials
Old buttons, bottle caps, and scraps of fabric can be transformed into miniature furniture. Think chairs made from matchboxes, tables from corks, and cushions sewn from fabric scraps. This not only saves money but adds a quirky, personal touch to your garden.
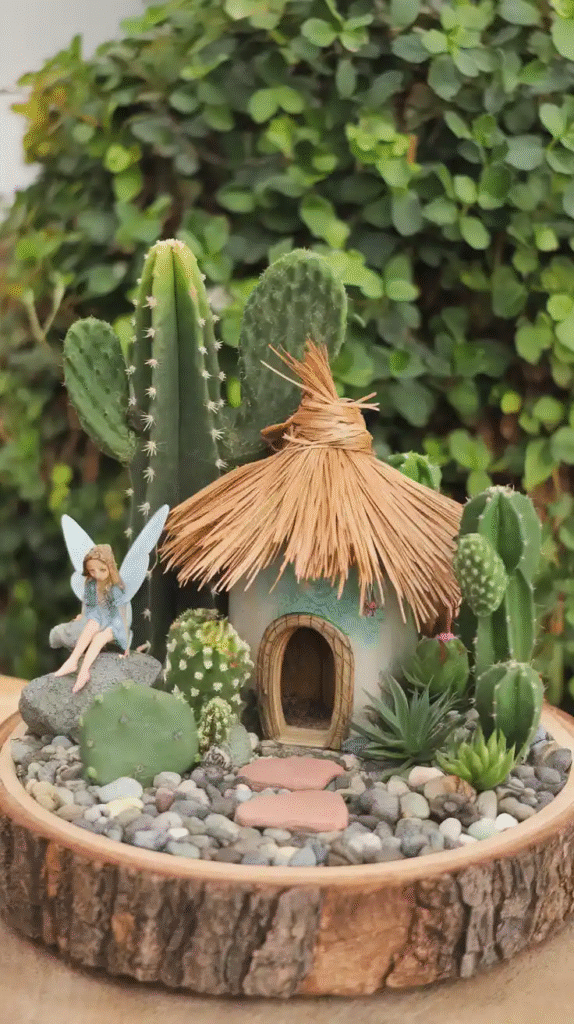
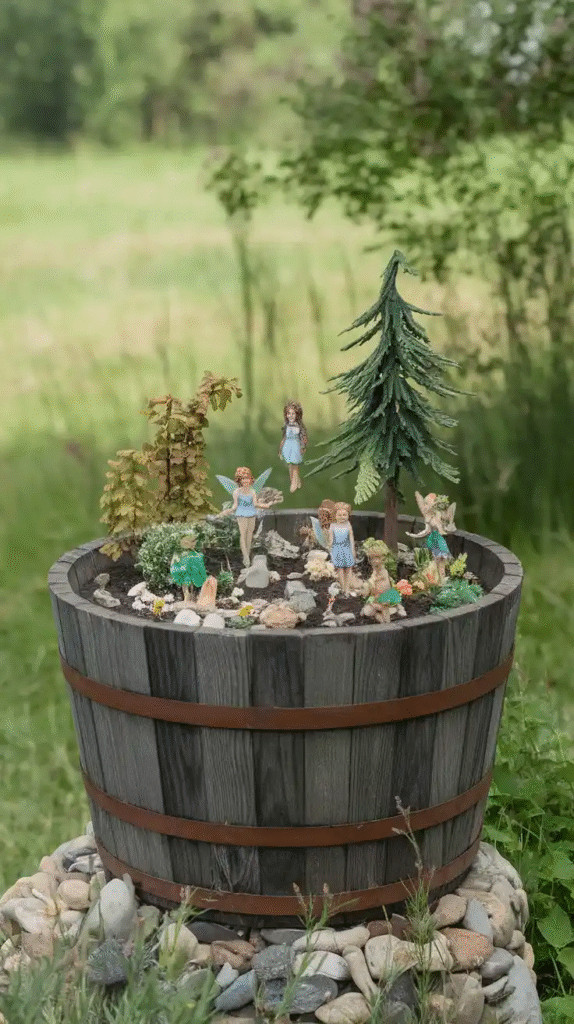
8. Plant Colorful Miniature Flowers and Herbs
Choosing the right plants is key. Opt for miniature flowers like alyssum, baby’s breath, or creeping thyme. They stay small and add bursts of color. Herbs like rosemary and thyme are perfect for texture and aroma. These plants not only look enchanting but also thrive well in small pots or garden beds.
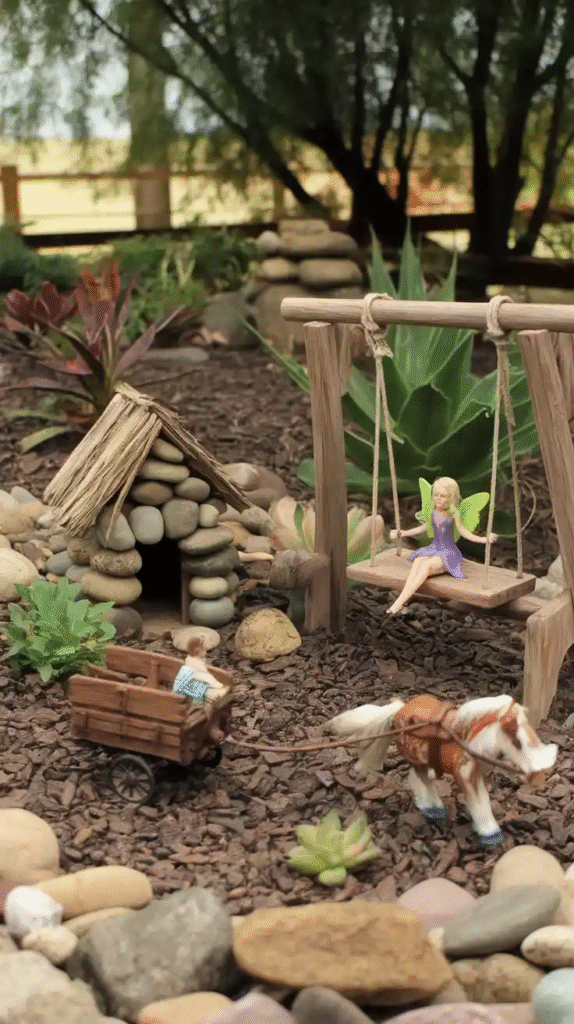
9. Add a Fairy Swing from a Branch and Twine
A little swing hanging from a sturdy branch is a delightful addition. Tie twine or thin rope to a small wooden seat—like a slice of bark or a wooden bead—and suspend it carefully. This element adds movement and playfulness, making your fairy garden come alive.
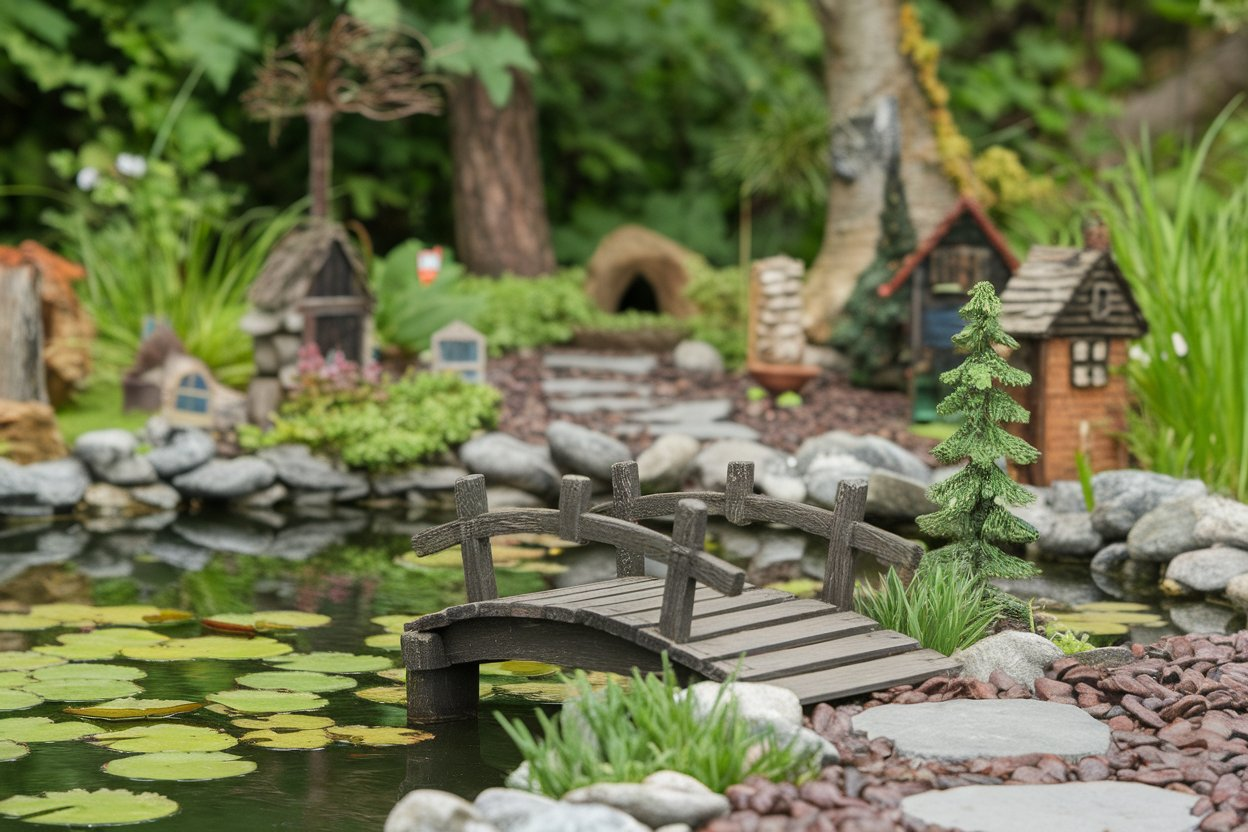
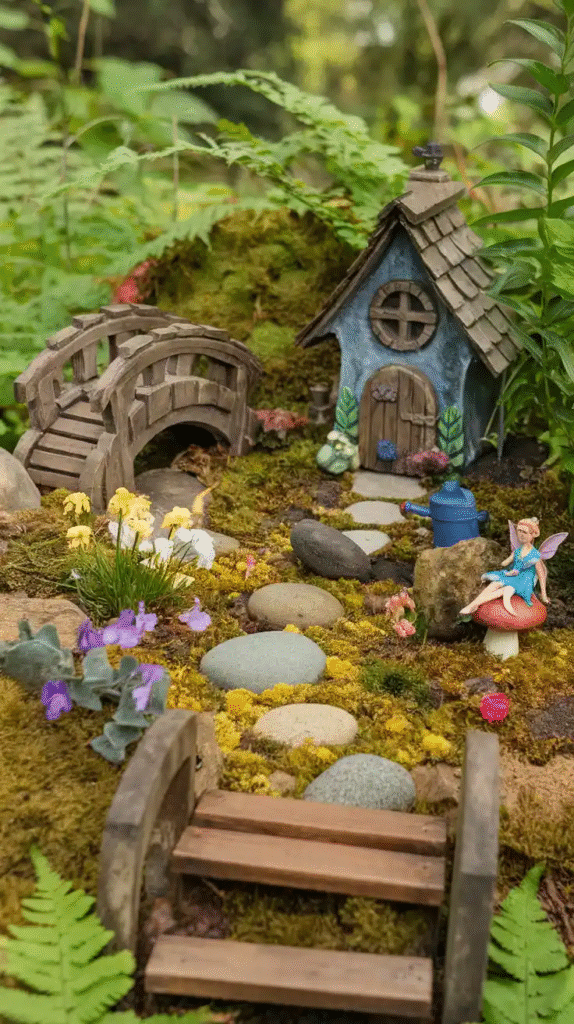
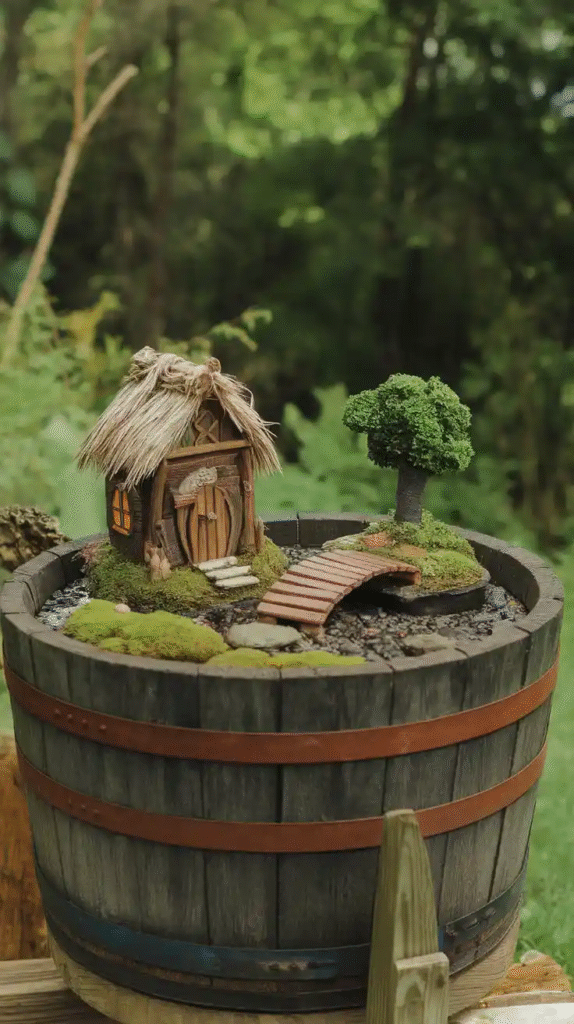
10. Build a Miniature Bridge with Popsicle Sticks
Bridges evoke adventure and stories. Use popsicle sticks or craft wood to build a simple arched bridge over a tiny stream or pathway. Paint or stain it to match your garden’s theme. I recall once making a bridge and watching how it tied the whole scene together—it was like adding a heartbeat to the garden.
11. Create a Tiny Fairy Mailbox
A miniature mailbox is perfect for leaving tiny notes or secrets to the fairies. Use a small wooden box or craft one from cardboard, paint it bright red or blue, and add a tiny flag that can be raised and lowered. Who knows, maybe you’ll get a tiny reply?
12. Decorate With Natural Elements: Pinecones, Acorns, and Shells
Nature offers a treasure trove of materials. Use pinecones as trees, acorns as stools or hats, and shells as water basins. These elements make your garden feel authentic and grounded in the outdoors.
13. Make Fairy Lanterns Using Tealight Holders
Gather some old tealight holders or tiny jars to create fairy lanterns. Insert battery-operated LED lights or fairy lights to add soft illumination. Hang them from branches or place along pathways to enhance the magical atmosphere after dark.
14. Design a Miniature Vegetable Garden Patch
Imagine fairies tending to their own tiny vegetable patch. Use small boxes or trays filled with soil, and plant microgreens or seedlings like lettuce and radish. It’s fun to watch these grow, and it adds an unexpected realistic touch.
15. Add a Tiny Signpost with Directions
A signpost with whimsical names—like “Pixie Path,” “Toadstool Trail,” or “Unicorn Crossing”—adds charm and personality. Use a small stick or wood scrap, write the names with a fine marker, and anchor it in the soil.
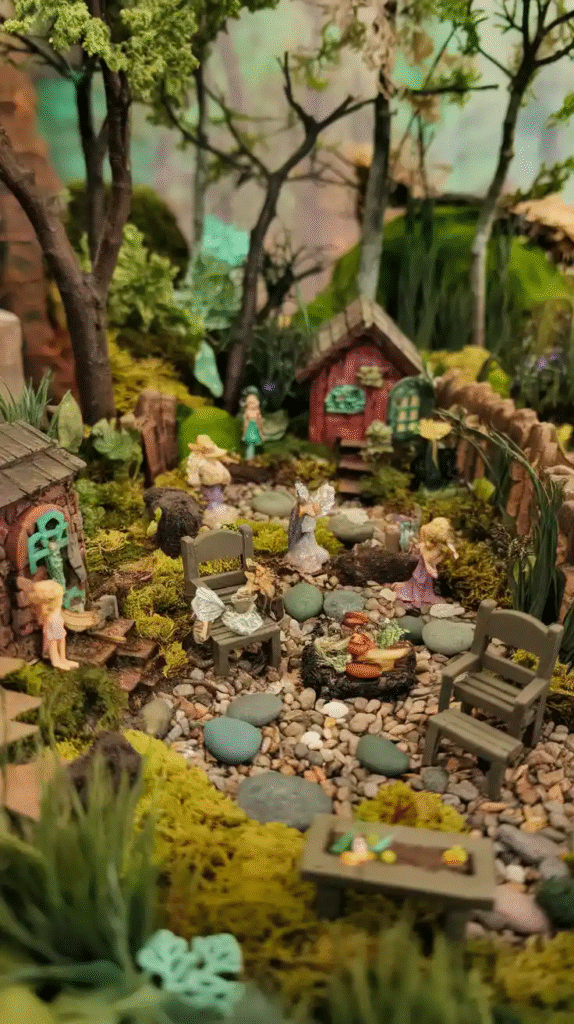
16. Craft a Fairy Picnic Set
Design a tiny picnic scene using bottle caps for plates, beads for food, and fabric scraps for napkins. Place it on a smooth flat stone or miniature table. It’s a perfect storytelling piece that invites you to imagine fairies enjoying their day.
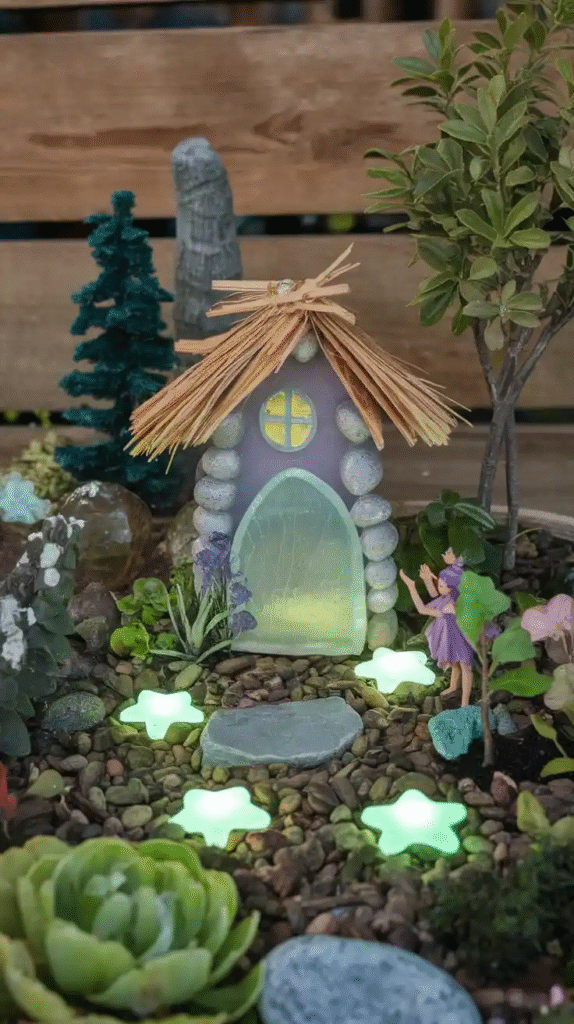
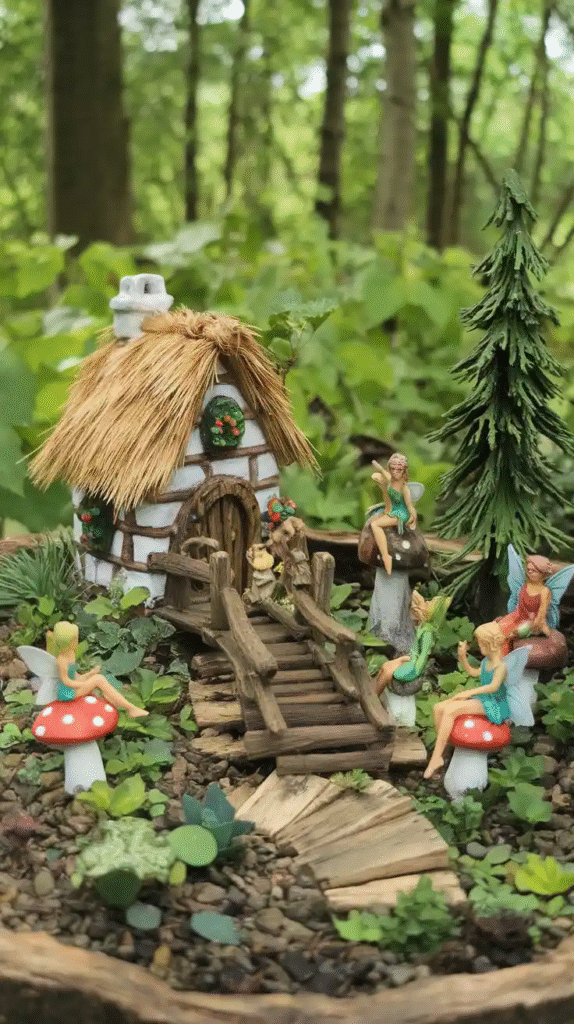
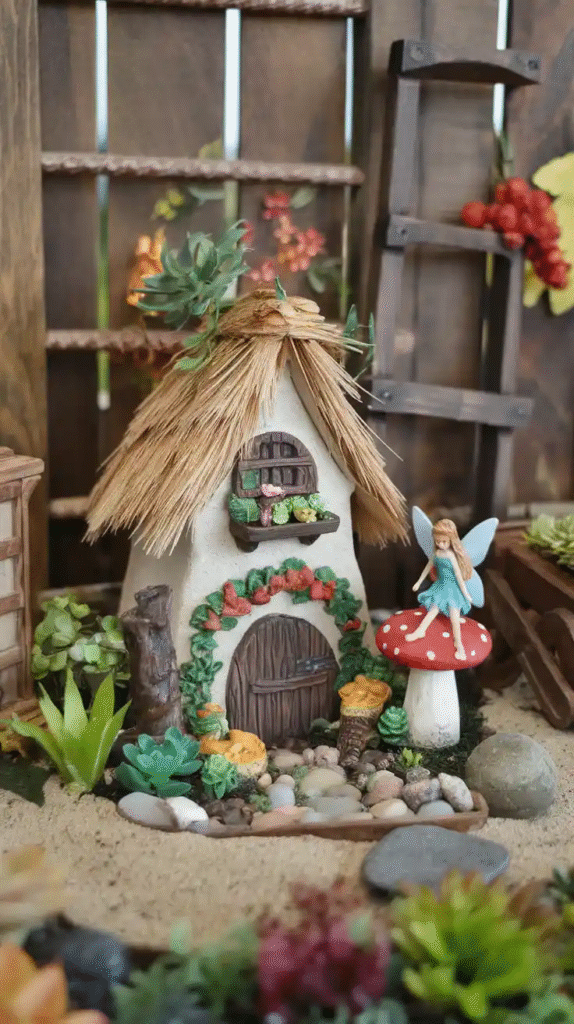
17. Build a Toadstool House from Clay or Painted Rocks
Toadstools are iconic in fairy lore. Create toadstool houses by painting red and white spots on rocks or sculpting small clay mushrooms. These can act as houses or magical gathering spots in your garden.
18. Integrate a Miniature Swinging Rope Bridge

For the adventurous fairies, build a swinging rope bridge using twine and thin sticks. Connect two points in your garden, perhaps between branches or small posts. It adds movement and a sense of exploration.
19. Seasonal Fairy Garden Updates
Change your fairy garden with the seasons. Add tiny pumpkins in autumn, miniature snowmen in winter, and colorful flowers in spring and summer. This keeps the garden fresh, exciting, and connected to the natural rhythms outside your door.
Conclusion
Building a fairy garden is much like telling a story with your hands. It’s not about perfection but about creating a space where magic feels possible. Start small, let your imagination guide you, and don’t be afraid to make mistakes or experiment.
I once glued a fairy door upside down, but it turned out to be a quirky conversation starter! The joy comes in the journey—watching your little world grow, inviting wonder into your everyday life.
Remember, fairies love attention, so check in on your garden often. Water the plants, rearrange the furniture, or add a new element whenever inspiration strikes. Your fairy garden isn’t just a project; it’s a living piece of enchantment you build day by day.
Leave a Reply