As an affiliate, we may earn a commission from qualifying purchases. We get commissions for purchases made through links on this website from Amazon and other third parties.
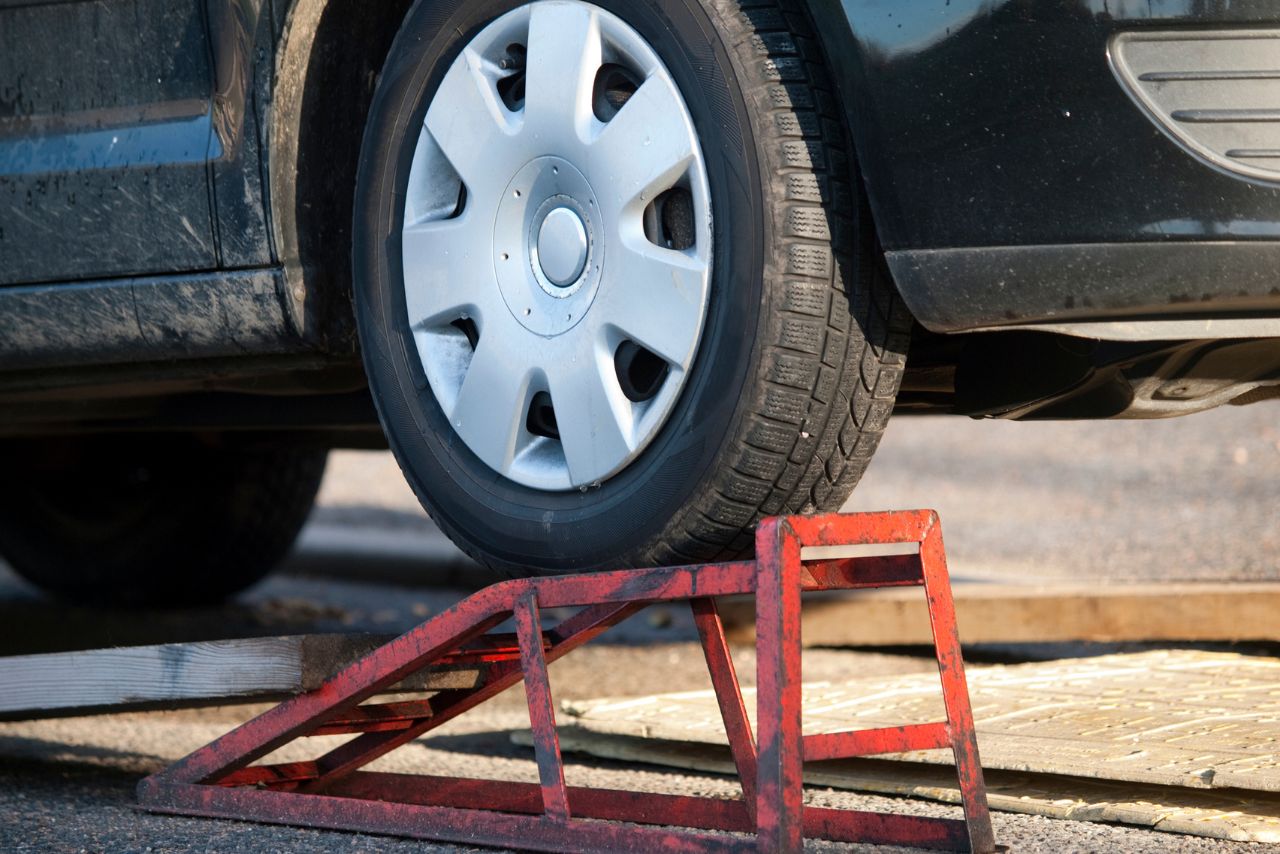
Changing oil on ramps is a convenient and efficient way to perform this essential maintenance task for your vehicle.
To change oil on ramps, start by parking on a level surface and engaging the parking brake. Chock the rear wheels to ensure stability.
Once in place, locate the oil drain plug and position a drain pan underneath it.
Loosen the plug to allow the old oil to drain completely.
Next, replace the drain plug and remove the old filter. Before installing a new one, apply some fresh oil to its gasket and screw it onto its designated spot by hand.
Finally, lower your car off of the ramps before starting its engine again. Check that your newly changed oil level is within optimal range using either an electronic gauge or measuring stick provided in most vehicles’ user manuals. If needed, add more oil accordingly until reaching an appropriate level.
Table of contents
How to Change Oil on Ramps?
Here are the steps on how to change oil on ramps:
Drive car up ramps until front wheels are elevated.
Change the oil according to the manufacturer’s recommendations.
Changing Oil on Ramps: A Step-by-Step Guide:
1. Park on level surface, engage parking brake, chock rear wheels:
To ensure a safe and efficient oil change on ramps, it is essential to follow the proper preparation steps. Here’s what you need to do:
Park on a level surface: Find a flat area where you can safely perform the oil change. This will help prevent any accidents or spills while working with your vehicle.
Engage the parking brake: Before attempting any work underneath your car, make sure to engage the parking brake fully. This will provide an additional layer of safety by keeping your vehicle stationary.
Chock the rear wheels: To further secure your car in place and prevent it from rolling backwards, use wheel chocks behind the rear tires. Place them snugly against each tire to keep them from moving during the oil change process.
By following these initial steps before driving onto ramps, you’ll create a stable foundation for carrying out the rest of the oil change procedure effectively.
Engage the parking brake to ensure that your car stays in place.
Chock the rear wheels with wheel chocks or blocks for added safety.
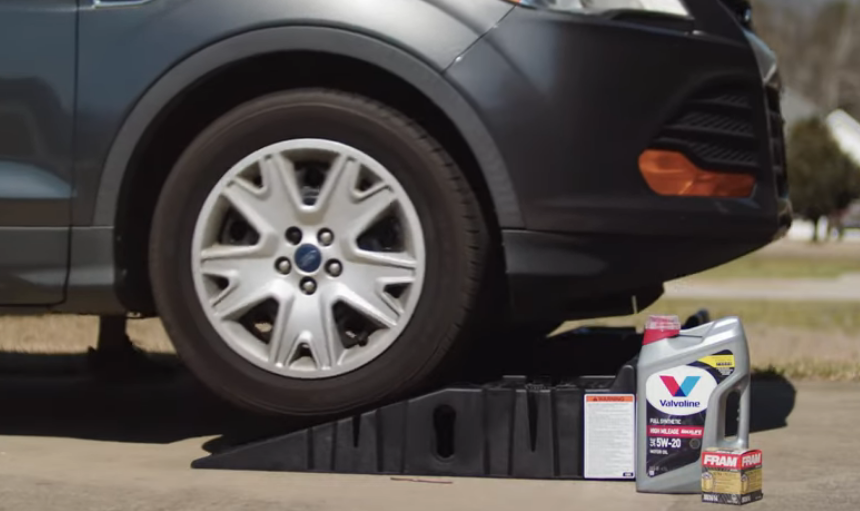
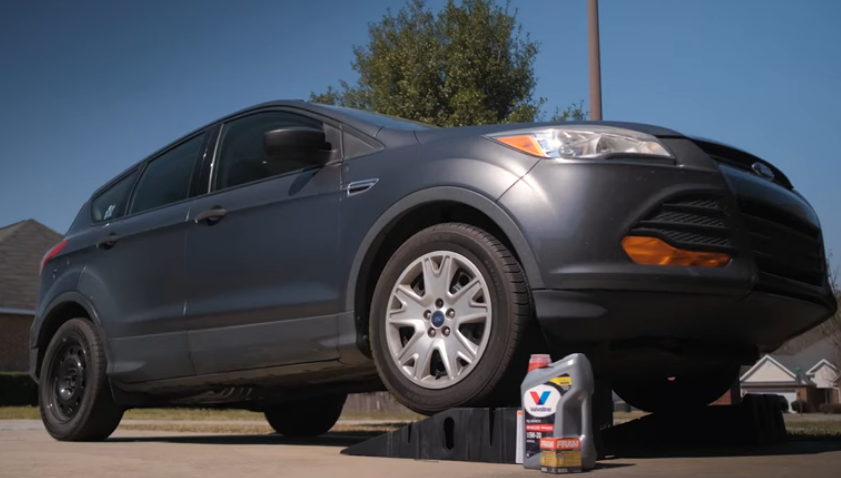
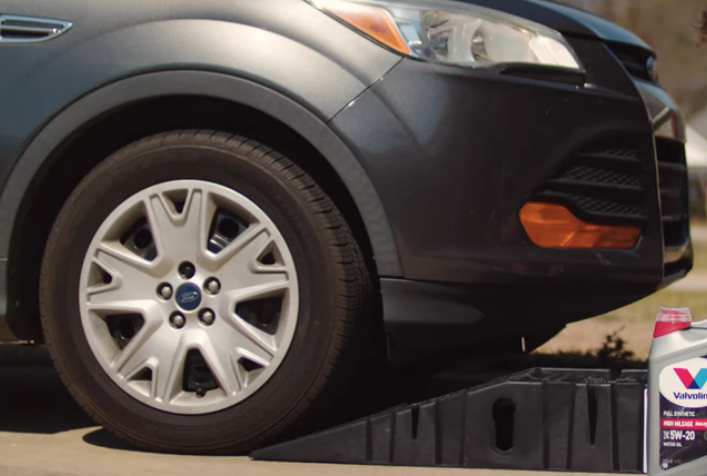
Take out your ramps and position them properly under the front tires of your vehicle.
Carefully drive your car forward, ensuring that both front wheels rest securely on the ramps.
Note:
Make sure that you align the center of each ramp with its corresponding tire before driving up onto them. This will help distribute weight evenly and prevent any imbalance during elevation.
As you drive up onto the ramps, maintain a slow and steady pace to avoid any jerky movements or sudden accelerations.
Tip:
If you’re unsure about how far to drive up onto the ramps, stop when you feel resistance from your tires against the incline of the ramp but before they fully settle into their resting position.
Once your front wheels are safely positioned on top of the ramps, engage additional safety measures such as placing wheel chocks behind both rear tires.
Now that you’ve successfully positioned your vehicle on ramps, it’s time to move on to locating and draining out old oil from your engine system
3. Locating the Oil Drain Plug and Draining the Oil:
To change your car’s oil, you will need to locate the oil drain plug and drain out the old oil. Follow these steps:
Park on a level surface: Ensure your vehicle is parked on a flat surface to ensure stability and prevent any accidents while working underneath it. Engage the parking brake for added safety.
Chock rear wheels: Place wheel chocks behind your car’s rear tires to further secure it in place and prevent any unwanted movement.
Locate the oil drain plug: Crawl under your vehicle from its front end (the opposite side of where you’ll be positioning ramps) until you can visually identify the oil pan – an oblong metal container attached to your engine block. The oil drain plug should be located at its lowest point.
Position drain pan beneath: Once you’ve found the oil drain plug, position your drainage pan directly below it to catch all of the draining oil without making a mess.
**Loosen and remove
4. Replace Plug, Remove Old Filter, Apply Oil to New Filter Gasket, Screw on Filter by Hand:
To complete the oil change process, follow these steps:
Replace the plug: Locate the oil drain plug underneath your vehicle and place a drain pan directly below it. Loosen the plug using a wrench or socket set. Once loose, carefully remove the plug and allow the old oil to fully drain out.
Remove the old filter: The oil filter is usually located near the engine block. Use an appropriate sized oil filter wrench to loosen and unscrew it in a counterclockwise direction. Be cautious as some remaining oil may spill out when removing the filter.
Apply oil to new filter gasket: Before installing your new filter, apply a small amount of fresh motor oil onto its rubber gasket or seal ring. This will help create a proper seal and prevent leaks during operation.
Screw on new filter by hand: Take your freshly lubricated oil filter and screw it onto its designated housing by hand in a clockwise direction until snugly fitted against the surface of the engine block. Avoid over-tightening as this can cause damage or make future removal difficult.
Finally, with both plug and new filter securely in place, you are ready to move on to adding fresh motor oil into your vehicle’s engine.
Remember that each car model has specific requirements for recommended filters and amounts of motor oils needed for optimal performance; consult your owner’s manual or manufacturer guidelines for accurate information before proceeding further.
5. Remove oil filler cap, pour new oil in, replace cap:
To complete the oil change process, follow these steps:
After positioning your vehicle on ramps and draining the old oil, it’s time to add fresh oil.
Slowly pour the new motor oil into the funnel until you have reached about 80% of the recommended amount.
Take caution not to overfill as this can cause damage to your engine and affect its performance negatively.
Allow some time for the fresh oil to settle inside before checking its level accurately.
Once you’ve poured in enough new motor oil, carefully remove and clean any residual drips around both ends of the funnel.
The opening where you removed the filler cap Replace and tighten back up securely with clockwise motion ensuring no leaks are present.
Remember that proper disposal of used motor oils is crucial for environmental safety; ensure they are recycled at designated collection points rather than being thrown away.
You can also watch this video to change your car’s oil on ramps:
Is it OK to change car oil on ramps?
Yes, it is generally safe and convenient to use ramps when changing your car’s oil. Ramps allow you to easily access the underside of your car to drain the old oil and replace the oil filter. Some benefits of using ramps include:
Allows you to get under the car without jacking it up. This is often quicker and easier than using a jack.
Provides plenty of room to maneuver under the car when removing the oil drain plug and oil filter.
Keeps the car stable and level while you change the oil. The ramps prevent the car from rolling or shifting.
Ramps are inexpensive and reusable. No need to buy a separate floor jack.
-Allows access without lifting the car high in the air. This can provide a safety benefit over jacking up the car.
Some tips when using ramps:
Make sure the ramps are high quality and can support the weight of your vehicle. Check the weight rating.
Drive slowly and carefully onto the ramps. Make sure the tires are centered on the ramps.
Set the parking brake and place blocks behind the rear wheels for extra safety.
Keep the ramps on a flat, solid surface. Don’t use on soil or gravel.
Can I change oil on an incline?
It is not recommended to change your oil on an incline or uneven surface. The best practice is to change your oil on a level surface. Here’s why:
Draining the oil on an incline can cause the oil to drain incompletely. This leaves old oil in the engine which contaminates the new oil.
Replacing the oil filter on an incline makes it more likely to spill oil from the filter housing. Oil spilled on a hot engine can cause a fire.
Crawling under a car on ramps on an incline raises safety risks if the car rolls or shifts. Always use wheel chocks for stability.
An uneven surface like gravel or dirt can cause the car to rock and shift while under the car, which is hazardous.
Most vehicle manufacturer’s recommend changing oil on a level surface. This ensures complete drainage of old oil and proper filling with new oil.
So for safety, completeness of the oil change, and following manufacturer guidelines, it’s best to use ramps or jacks only on a level, paved surface. Take the extra time to position the car properly.
Should I use ramps or jack for oil change?
Both ramps and a jack can be used safely when changing your oil as long as proper precautions are taken. Here are some factors to help decide between ramps or jacking up the car:
Benefits of Ramps
Convenient and fast to drive onto
Allow access underneath without lifting car high up
Keep car more stable and less likely to fall off support
No need to buy a separate jack
Benefits of a Jack
Lifts vehicle higher for easier access to the oil drain plug and filter
Takes up less space than ramps when storing
Can provide more room to maneuver tools than low ramps
Some vehicles don’t work well with low ramp angles
In general, most home mechanics can successfully change their oil using quality ramps. However, very low ground clearance vehicles or if you need greater access under the car, a jack may be the better choice.
When using either method:
Use wheel chocks and parking brake
Keep your work surface level
Allow oil filter to drain before removing
Dispose of old oil properly
Should you change your oil on level ground?
Yes, it is recommended to always change your vehicle’s oil on a flat, level surface. Here’s why:
Draining oil on a tilt or angle can prevent old oil from fully draining out. Any remaining old oil will contaminate the new oil.
Filling the crankcase with new oil requires the dipstick reading to be precise. This cannot be done accurately if the vehicle is not level.
Crawling under a raised vehicle on an incline raises safety risks of the vehicle becoming unstable and shifting or rolling.
Lifting just one side of a vehicle with a jack on an uneven surface can also risk bending a frame or component.
Most owner’s manuals specify changing oil and oil filters only when the vehicle is on a level surface.
While changing oil on level ground takes a bit more time and effort, it is the safest approach and gives the most accurate oil fill readings.
Take the extra time to find a flat, paved surface whenever possible to get the full benefits of your oil change. Be sure to use jack stands or wheel chocks for stability as well.
Conclusion and final thoughts 💭
Changing the oil on ramps is a straightforward process that can be done by any car owner.
By following these simple steps, you can save time and money by performing this essential maintenance task yourself.
By mastering how to change oil on ramps correctly, you’ll keep your vehicle running smoothly while also gaining confidence in maintaining its overall performance—no need for expensive visits to auto service centers when you can do it yourself efficiently!
Jack Oliver, is a car enthusiast with a keen eye for choosing the perfect accessories for cars and conducting thorough testing of various automotive products. Jack’s expertise lies in exploring the world of oils, lubricants, additives, and other accessories that enhance the performance, aesthetics, and overall driving experience.


Leave a Reply