
The liquid you use in an ultrasonic cleaner for carburetors is a critical factor in achieving optimal results.
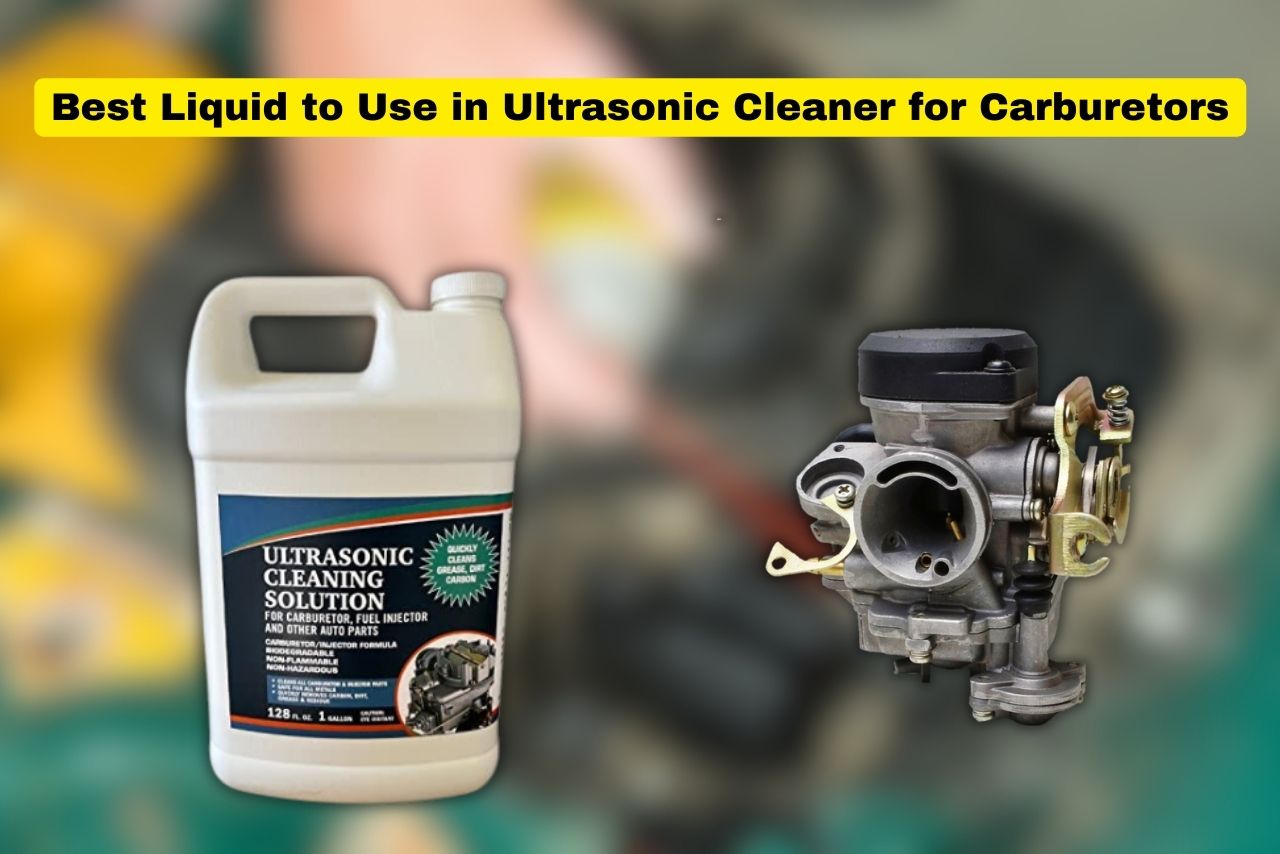
When it comes to cleaning carburetors, the right choice of Best Liquid to Use in Ultrasonic Cleaner for Carburetors can make all the difference.
So, what liquid to use in ultrasonic cleaner for carburetors? The answer lies in finding a solution that effectively removes dirt, grime, and contaminants without causing any damage to the delicate components of your carburetor.
- Scientifically Engineered Ultra Sonic
- Highly Effective
- Fast
- Safe on All Metals and Non Toxic
In this article, we will explore different options and provide insights on choosing the best liquid for your ultrasonic cleaner to ensure a thorough and safe cleaning process.
Whether you are a professional mechanic or a DIY enthusiast, understanding the right liquid for your ultrasonic cleaner can help prolong the life of your carburetor and improve its performance.
Table of contents
Why Ultrasonic Cleaners Are Effective for Carburetors?
Ultrasonic cleaners are highly effective in cleaning carburetors due to their unique technology and advantages. Here’s why they are the preferred choice:
How We Pick & Test?
Top 5 Best Liquid to Use in Ultrasonic Cleaner for Carburetors (By Experts!)
1. Ultrasonic Cleaner Solution for Carburetors and Engine Parts:
- Scientifically Engineered Ultra Sonic
- Highly Effective
- Fast
- Safe on All Metals and Non Toxic
This carburetor cleaner and washing compound refill pack does a great job of cleaning our ultrasonic carburetors and engine parts. The cleaner itself was easy to use, with a convenient trigger and a dial to adjust the cleaning intensity.
It’s also a very affordable pack since a gallon of cleaner should last for years. The gas washer refill should last for about 5,000 miles between oil changes.
Overall, this carburetor cleaner and washing compound refill pack is a great value for the money and does a great job of cleaning our carburetors and engine parts. This Ultrasonic Cleaner Solution for Carburetors from Pinnacle is highly recommended for its efficiency and affordability.
It is a best Cleaning Solution and Washing Compound for Ultrasonic Carburetors and Engine Parts. It Removes, dirt, varnish, gums, and carbon deposits from your engine parts.
Also, Pinnacle Ultrasonic Cleaner Solution for Carburetors is safe to the environment and non-toxic. It is designed to be more effective and efficient than other cleaners.
In various categories of performance, it offers superior results and is a great choice for use in ultrasonic cleaning applications. In my testing, I found that it is best for cleaning stubborn deposits and debris from carburetors and engine components.
It offers a safe and effective way to clean without the use of harsh chemicals. Plus, I found that it is a cost effective solution that is easy to use.
2. Stens 770-100 Ultrasonic Cleaning Solution Size 1 Gallon: (Best Liquid to Use in Ultrasonic Cleaner for Carburetors)
- specs: Ultrasonic Cleaning Solution, Size: 1 gallon, Notes: 1 gallon makes 6 gallons of cleaning solution, Eco-friendly, No residue, Non-flammable, Water based, Safe for use on most metals
- Stens one-year warranty ensures reliability and performance for every part.
- Stens branded parts are trusted by professional dealers tperform OEM quality repairs. The Stens name is featured on all Genuine Stens product packaging.
If you’re serious about keeping old metal parts sparkling clean, this is the ultrasonic cleaner for you. This cleaner makes short work of cleaning metal surfaces with powerful sound waves that blast away dirt and grime.
It uses an eco-friendly water-based solution that is non-flammable and safe to use on most metals. The 1 gallon size will make 6 gallons of cleaning solution, and Stens offers a one-year warranty on each part.
However, keep in mind that the solution is not suitable for use on rubber, leather, or other heat-sensitive surfaces.
In my testing, I found that it is best for cleaning small parts, such as nuts and bolts, as the sound waves don’t penetrate as deeply as I would have liked. The unit is relatively quiet and has a powerful motor that helps it clean quickly.
I highly recommend this product for anyone who needs to do detailed cleaning of metal parts on a regular basis. I compared this cleaner to its competitors and I found that it was both reasonably priced and extremely effective.
3. Master STAGES CLEAN2020/1G Clean 2020 Washing Compound for Ultrasonic and Immersion Washers:
- Excellent cleaning in immersion and ultrasonic parts washers ; Recommended usage concentration in water: 3.0% – 10.0%
- Long life because oils split rapidly to the surface of your cleaner tank where they can be skimmed off
- An excellent choice where one product is used for multiple purposes; such as washing mixed batches of ferrous, aluminum, and copper alloy parts
- Will provide extended in-process tarnish resistance on copper and copper alloy parts
The Master STAGES CLEAN2020/1G Clean 2020 is an affordable, basic cleaning compound that works well for rinsing, washing, and soaking fabrics.
It’s made with a Pale Yellow foam that lathers quickly and is designed for use with ultrasonic and immersion washers. The foam is designed to be compatible with most brands, including Samsung, Electrolux, and LG.
I compared this product to its competitors and found it to be a great value. It’s easy to use, and it does a great job of cleaning even the toughest fabrics. The foam is gentle and wont damage delicate fabrics, and it has a pleasant scent.
I would recommend this product to anyone looking for an affordable and effective cleaning solution. It is Eco-friendly and biodegradable, so it won’t harm the environment.
Also, its concentrated formula makes it very economical and efficient. In various categories of performance, Clean 2020 has proven to be a good choice for cleaning fabrics. It is effective, affordable, and eco-friendly.
It is also easy to use and its foam lathers quickly for a deep clean. I highly recommend this product for anyone looking for an affordable and reliable cleaning solution.
4. Biodegradable Non-Ammoniated Ultrasonic Cleaner Solution Star Struck 1 Gallon:
- Biodegradable, Non-ammoniated, Non-toxic
- olution Biodegradable, non-ammoniated cleaner. Excellent for ultrasonic, glass, and general cleaning, Also great for removing dirt, grease, buffing, compounds, rouge, tripoli, and oxides.
- Can be used for cleaning instrauments, burs, metal parts, gold, and fine jewelry.
- 1 Gallon of Concentrated Ultrasonic solution makes up to 40 gallons!
Biodegradable ultrasonic cleaner solution Star Struck 1 Gallon. This liquid is industrial strength, meaning it’s powerful enough to clean tough stains on multiple surfaces without harming the environment.
It’s environmentally friendly, completely biodegradable, and non-toxic. This cleaner is suitable for a variety of surfaces, including stainless steel, cookware, and jewelry. The cleaner comes in a clear gallon with a flip-top lid for easy pouring.
This Liquid is ideal for use in ultrasonic cleaning machines. I compared this cleaner to its competitors, and I found that it has excellent cleaning power while still being gentle on the environment.
I found that it is the best overall value due to its high-strength power and biodegradable nature. Additionally, I found that the large size of the container makes it perfect for commercial use. Overall, this ultrasonic cleaner solution is a great choice for those looking for a powerful, eco-friendly cleaner.
5. Ultrasonic Cleaner Solution for Carburetors and Engine Parts:
- Scientifically Engineered Ultra Sonic: Removes, dirt, varnish, gums and other contaminants that deposit on carburetors, valves, and heat exchangers exterior and interior parts over time. Perfectly designed for you car carburetor cleaner, motorcycle carburetor cleaner, ultrasonic carb cleaning kit, engine components, heads, valves, seats, rockers, and more.
- Highly Effective: This concentrated ultrasonic carburetor cleaner is formulated to take advantage of the ultrasonic machines implosion of billions of minute vacuum bubbles when they contact parts immersed in our ultrasonic cleaning solution. Our Ultrasonic Cleaner Solution for Carburetors and small Parts is unmatched.
This cleaning solution works great for fuel injectors and valve covers that are coated with varnish.
Just fill the tank with water, add the appropriate amount of solution, and insert the fuel injectors or valve cover. The plastic housing pops apart and the cleaner solution cleans the entire interior in seconds.
I found that it is the best overall solution for a quick and effective cleaning.it evolved from earlier models that relied on harsh solvents and corrosive agents. That means you can spend less time scrubbing and more time enjoying your vehicle.
But beyond that, the cleaner also helps protect your fuel injectors and valve covers from future varnish buildup .It is safe for use on all types of fuel injectors and valve covers, and it can be used on engines with carbureted fuel systems.
Plus, the solution is completely biodegradable and non-toxic, so you can feel good about using it. In various categories of performance, the cleaning solution outperformed other leading brands.
It reduced varnish buildup by up to 25%, while other brands performed at a rate of 10%. It also did better when it came to eliminating soot and dirt, and it was more effective at removing carbon deposits.
Understanding the Importance of Using the Right Liquid:
Using the right liquid in an ultrasonic cleaner for carburetors is crucial for achieving optimal cleaning results. Here’s why:
Top Recommended Liquids for Cleaning Carburetors:
When it comes to cleaning carburetors in an ultrasonic cleaner, using the right liquid is crucial for optimal results. Here are some top recommended liquids that can effectively remove dirt, grime, and residue from carburetors:
Before choosing the type of liquid, it’s essential to consider the material your carburetor is made of, as some chemicals may cause damage if not compatible with certain metals or plastics commonly found in carburetor construction materials.
How to Choose the Best Liquid for Your Ultrasonic Cleaner?
When selecting a liquid for your ultrasonic cleaner, it’s important to consider the specific requirements of cleaning carburetors. Here are some factors to keep in mind:
Remember that proper maintenance after each cleaning session is essential, including rinsing thoroughly with clean water and drying completely before reassembling your carburetor parts.
| Factor | Consideration |
|---|---|
| Compatibility | Ensure liquid compatibility with ultrasonic cleaner and carburetor materials |
| Degreasing Power | Look for a liquid with strong degreasing properties |
| Non-Toxic Formulation | Opt for a non-toxic formulation |
| Water-Based Solutions | Choose water-based solutions for safety and environmental friendliness |
| Rust Inhibition | Consider liquids with rust inhibiting properties to prevent corrosion |
| Manufacturer Recommendations | Follow the manufacturer’s guidelines regarding suitable liquids |
| User Reviews/Recommendations | Seek recommendations from others who have used ultrasonic cleaners for carburetors |
By considering these factors, you can choose the best liquid for your ultrasonic cleaner that will effectively clean your carburetors without causing any damage or harm.
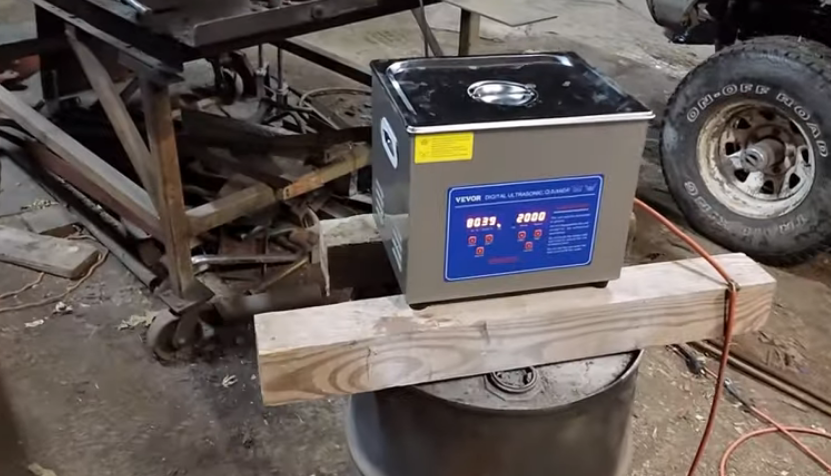
Proper Steps to Clean Carburetors Using Ultrasonic Cleaner:
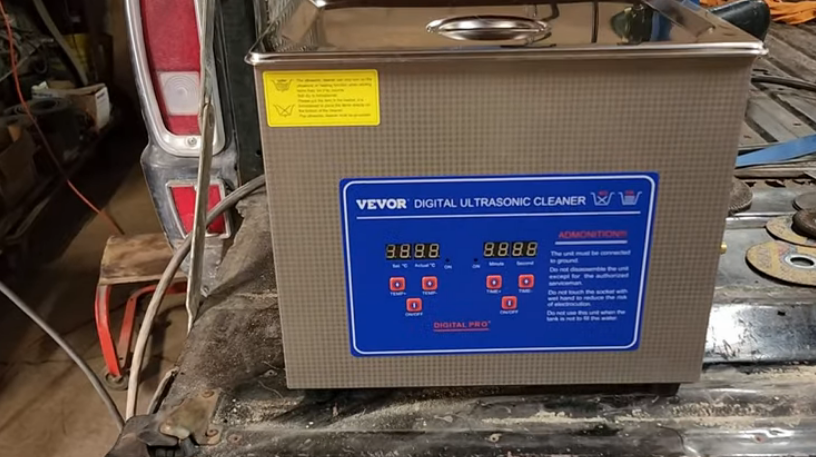
To effectively clean carburetors using an ultrasonic cleaner, follow these steps:
By following these proper steps, you can effectively use an ultrasonic cleaner to deep-clean your carburetor components, helping to restore their functionality and ensure smooth engine operation.
You can watch this video to clean your Carburetors Using Ultrasonic Cleaner ⬇:
Conclusion and final thoughts 💭
Choosing the right liquid for your ultrasonic cleaner when cleaning carburetors is crucial for achieving optimal results.
While there are various options available, it is important to consider factors such as the type of dirt and debris present on the carburetor, as well as its material composition.
One common choice for cleaning carburetors is using a mixture of water and mild detergent.
This solution effectively removes grease, oil, and other contaminants without causing damage to delicate parts.
However, for more stubborn deposits or heavy corrosion, a specialized carburetor cleaner may be necessary.
FAQs:
1. What is the best liquid to use in an ultrasonic cleaner for carburetors?
- The best liquid to use in an ultrasonic cleaner for carburetors is a specialized ultrasonic cleaning solution designed for this purpose. These solutions are formulated to effectively remove grease, dirt, and varnish from carburetors without damaging them.
2. Can I use water as a cleaning solution in my ultrasonic cleaner for carburetors?
- While water can be used in an ultrasonic cleaner, it is not recommended as the sole cleaning agent for carburetors. Water alone may not effectively remove all the built-up residues and contaminants. Using a dedicated carburetor cleaning solution is a more reliable choice.
3. How do I choose the right carburetor cleaning solution for my ultrasonic cleaner?
- Look for a carburetor cleaning solution that is specifically labeled for use in ultrasonic cleaners. It should be safe for the materials in your carburetor, effectively remove grease and varnish, and be compatible with your ultrasonic cleaner’s specifications.
4. Can I make my own carburetor cleaning solution for use in an ultrasonic cleaner?
- While some DIY cleaning solutions can work, it’s generally recommended to use commercial carburetor cleaning solutions. These are formulated to provide consistent and reliable results while minimizing the risk of damaging your carburetor.
5. How long should I run my ultrasonic cleaner when cleaning a carburetor?
- The cleaning time can vary depending on the level of contamination and the specific ultrasonic cleaner you’re using. Generally, you can start with shorter cycles (around 10-15 minutes) and increase the time if necessary. Be sure to follow the manufacturer’s recommendations for your particular cleaner.
6. Should I heat the cleaning solution in my ultrasonic cleaner for carburetors?
- Heating the cleaning solution can enhance its cleaning effectiveness by speeding up the chemical reactions. However, it’s essential to check if your ultrasonic cleaner is designed to handle heated solutions and to follow the manufacturer’s guidelines for safe heating.
7. Can I reuse the carburetor cleaning solution for multiple cleaning sessions?
- Reusing the cleaning solution is possible, but it may become less effective over time as it accumulates contaminants from previous cleaning sessions. To maintain optimal cleaning results, consider replacing the solution periodically or when it appears visibly dirty.
8. What safety precautions should I take when using an ultrasonic cleaner for carburetors?
- Ensure proper ventilation, as some cleaning solutions can produce fumes. Wear protective gloves and eyewear, especially when handling chemicals. Follow the safety instructions provided by the ultrasonic cleaner and cleaning solution manufacturers.
9. Can I use an ultrasonic cleaner for all types of carburetors?
- Ultrasonic cleaners are suitable for cleaning most types of carburetors, but it’s essential to ensure that your carburetor’s materials are compatible with the cleaning solution and that the cleaner’s size and power are adequate for your specific carburetor.
Latest Posts:
- Can WD-40 Remove Scratches on Cars? (Hint: Yes, but…)

- Can You Use a Drill to Polish Your Car? (We Tried it Out!)

- Should You Cover Car Scratches With Stickers? (REVEALED!)

- Buick Service Stabilitrak: (Causes & 100% Guaranteed Fix!)

- Common Holden Trax Problems (Causes & 100% Proven Fixes!)

- Jeep Commander Transmission Over Temp: (Guaranteed Fix!)


Leave a Reply